Showing posts with label tutorials. Show all posts

Dec 13, 2013

Friday Features: Hot Buns Accessory

Hot Buns (it's not what you think!) is one of those "As Seen on TV" products.  They do have them at walmart and other stores now.

HERE they are on Amazon.  Their reviews average 3 out of 5 stars and you can read them there.
There are dark brown and blonde colors available.  There are 2 sizes.  I used the large size on her head today.  Hot Buns are great for quickly creating a full, doughnut shaped bun.  It is very easy and doesn't require bobby pins.  You can also use a sock (like our sock bun curling post here), but I do like the velcro-type feelers on these.  They hang on to the hairs and make it easy to get it smooth and even.  I'm happy to report that they don't rip the hair when you take out the bun.
1. Make a ponytail.
2.  Wrap the end of the ponytail around the accessory.
3.  Roll it up.  You can start low and roll upward, or pull the ponytail up first and then roll downward.
4.  Circle it around and snap it closed.
5.  Pull the hair around evenly if needed.
6.  Add a bow!
There is an extra step that I don't bother with - it has an elastic that you wrap around the whole bun when you are done wrapping up the hair.  It doesn't seem to affect anything and I think it is unnecessary.

This is the final product, with no hair spray or bobby pins.  Not too bad for a quick style for school or dance!  This bow is an item that may show up on bowsweet.com if there is interest.  (It can be used as a bow tie for the little boys or wrapped around the bun for the girls!)
Have you tried it?  Let us know how it goes!

Dec 5, 2013

Thursday Theater: Easy Quadruple Twist Hairstyle

Congratulations to our 1-day giveaway winner!
Ronda James
Enjoy your Glitter Hydrangea Headband from BowSweet!


This hairstyle is super easy and fast (we're talking' 2 minutes max)!  The elastics can be covered with any beautiful BowSweet bow or flower clip.

Nov 26, 2013

Tuesday Tips: How to Clean Your Hair Brushes/Combs


1.  Remove all the hair from your brush.  You can pull it out with your hands, but I also like to use a comb - start at the base of the bristles and pull up the hairs.  For really tight hairs, you can even use a toothpick to loosen them.  WARNING:  Gross picture!  EW!!!
 2.  Soak your brushes and combs in a bath of equal parts vinegar and warm water in a bowl or mug for about 15 minutes.  You could also use water with some drops of shampoo instead of vinegar.  Soaking your brushes and combs will break up any oily deposits and lingering hair product.  If you have a brush with a wooden handle, or natural boar bristles, lightly scrub them under running water instead of soaking.  The wood can split and the boar bristles may curl.
 3.  Lightly scrub off any leftover deposits on the base and bristles.  
4.  Rinse with clean water and dry on a towel.

Happy cleaning!

Oct 15, 2013

Tuesday Tips: How to Make an Easy Cat Ear Halloween Headband

Are you or your little one going to be a cat for Halloween?
Or do your kids just love to dress up anytime?

Here's an easy way to make comfortable cat ears.  Making them yourself gives you the freedom to customize the size and the color.  And, what's more... they are fast, easy, and inexpensive!

You can use any kind of headband.  I used a 1/4" wide plastic headband and wrapped it with ribbon. You can even wrap it in fur or feather yarn.  To make it easier, don't even wrap it.  You can find plain headbands at any dollar store.
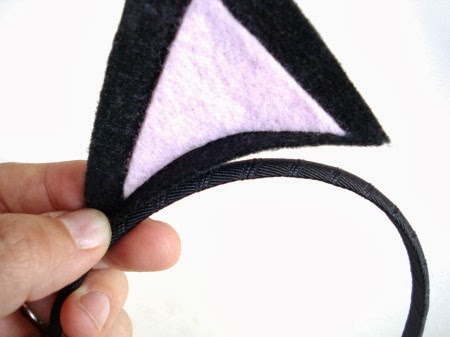
For each ear, cut a black felt triangle to the desired size, and cut a curve at the bottom (keep both pieces).  Cut a smaller pink triangle with a curved bottom to match the black triangle.
  
Glue the pink triangle on top of the black.  Bend the ear a little as you glue it around the top of the curved side of the small black piece.
This will curve the sides slightly forward and the bottom will bow up a bit.  It gives the ear some shape and makes it perfect for mounting to the headband.
Glue the ears to the headband and that's it!


Let us know how it goes!
Happy Halloween!


Oct 11, 2013

Friday Features - Cute Girls Hairystyles


Today's feature:
Cute Girls Hairstyles is one of the most popular sites with hairstyle ideas for girls.  They have been posting YouTube videos every week since 2009.  They have over 1,544,061 YouTube subscribers, 152,000 fans on Facebook, and just reached 400,000 followers on instagram!  WOW!

It began with Mindy, mother of 5 girls and 1 boy.  Here is part of her bio about how they got started.: "...I finally decided to record the hairstyles in a blog format so that I had something “permanent” to reference. As friends, family, and even strangers asked me how I made a certain hairstyle, it was very easy to refer them to the blog for step-by-step instructions.  Well, friends told more friends, and they told friends, etc. Now Cute Girls Hairstyles has become a hairstyle reference for hundreds of thousands of moms and girls all over the world!"  

Mindy also posts "Mom Minutes" where she shares her parenting knowledge and her twins now have their own fun YouTube channel.
I can't wait to try one of their latest styles,
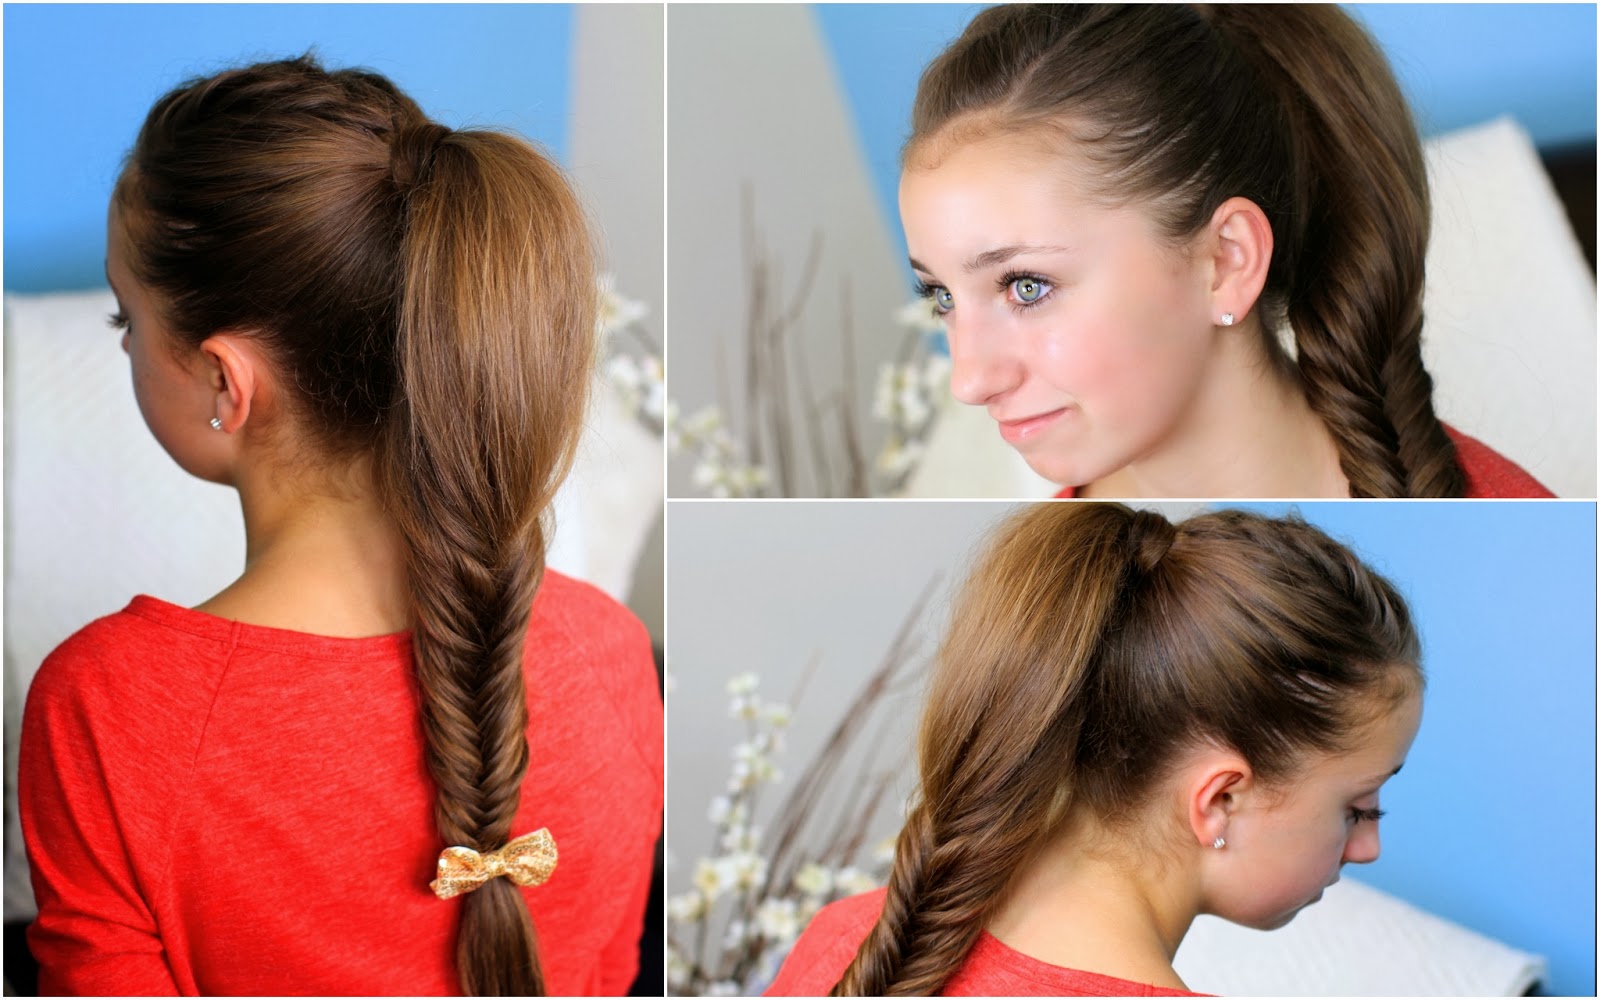
the Fluffy Fishtail Braid!
Check it out if you haven't, and enjoy getting lost in all the braids, twists, updos, and all the girly fun!


Oct 10, 2013

Thursday Theater - How to Do a Corkscrew Braid

Ever wondered how to make a corkscrew or rope braid?
You know - the kind that looks like twists twisted together?

Well, here it is in a short video!...

Thanks to bronchitis, I sound like a man.  Ptthh.  So... I used subtitles.  Hopefully, you don't need my talking anyway!

You can use these braids in many ways - leave one down the side, pull 2 corkscrews to the back and tie them together, 3 corkscrews on the side down into a side ponytail, several corkscrews around the head tied up into a high ponytail, and more!  They even make great waves for 2nd day hair.  Have fun twisting away!


Oct 7, 2013

Daily Blog Posts

We are reorganizing our blog!
Here's the plan... it will go something like this:


Monday Memos
* announcements * new products * trends *

Tuesday Tips
* hairstyles * tutorials * hair products *

Win it Wednesday
* giveaways *

Thursday Theater
* videos *

Friday Features
* internet finds * product features *


Let us know what you think!  This stuff is for you, so we'd LOVE to hear from you!  Is there anything else you'd love to see?  Leave comments/suggestions below or email us at erika@bowsweet.com.

Sep 4, 2013

Video: How a BowSweet Flower Hair Clip is Made

Check out our new video!
See how a BowSweet hair clip is made from start to finish. This flower took 22 min., but you can watch it in less than 3! 

Jul 7, 2012

Tutorial: How to Curl Hair with No Heat - Sock Bun

Here is the 3rd method in our series of
tutorials on how to curl hair with no heat!

The Sock Bun!
Cut the toe off of one of dad's CLEAN socks.  Shh... he didn't know I stole one!  I used a small sock for little sister.
 Scrunch or roll up the sock so that it looks like a doughnut.    (Mmm... doughnut...  me hungry...)
Pull all the hair into a high ponytail.  However, the hair does not have to be high like this. (*wink)  It is pretty amazing how light and pliable her hair is!  It only has water in it!    
Awesome.
(Little sister took over the camera for the next couple of shots.)
Pull the hair tight enough to create a face like this...
Dampen the ponytail with a little water.
Don't get it so wet that it will not dry overnight.
 
Put the ponytail through the doughnut.  (Actually, a maple bar sounds really good...)  Sorry, it's hard to ignore a hungry tummy!  Move the doughnut, er... SOCK to the end of the ponytail.
Tuck the ends of the hair under the sock.
Roll the sock down until it reaches the head, rolling the hair with it.
There is no need to pin it.  It actually stays in really well.  All night in fact!  I suppose it might not stay in if you are a crazy sleeper, but it worked for us!
For little sister's little hair, I used one of her own little socks.
She would make a pretty ballerina, don't ya think?
Sleep on that and take it out in the morning.
Ta-Da!  Big, loose curls that should stay in all day!
So easy and so fast!
I'm dying to put a beautiful flower clip in that hair!

So, there we have it!  Sock buns are pretty awesome!  It only took a few minutes to put up, and in the morning the results were lovely!  I worried that there would be a kink where the elastic was, but it didn't come out that way.  I'm so proud that I may have to reward myself with a doughnut!  


To see other no-heat curling methods,
check out Bandu Knots #1, Bandu Knots #2, and Rag Curls.


Don't forget to add BowSweet accessories to those curly locks!
Shop here:  bowsweet.com


May 19, 2012

Tutorial: How to Curl Hair with No Heat - Rag Curls


This curling method is not new to the world, but still a great way of curling hair with no heat.  The best part is, it is more comfortable to sleep on than bandu knots!  You can use rags like I did, or thicker socks for a fatter curl.

I started with the crown of her head, but you can try different ways of dividing the hair until you find what works for you.
Spritz with just a little water.  Don't use too much or it may not dry by morning.
Tuck the ends of the hair under the rag.
 Start rolling the hair onto the rag until you reach the head.
 Tie a simple knot.  It doesn't have to look perfect.
 I separated the rest of her hair into 3 sections.
 Tie those up and you're ready for bed!  So easy!
In the morning, untie the rags and lightly comb through the hair with your fingers. Wow!  Beautiful curls!  The rag on the left actually slipped quite a bit, but you couldn't tell once the hair was down!
I love rag curls!  This method creates loose curls with no heat, the hair stays curly all day, it's easy to do, comfortable to sleep on, and doesn't take much time!  Yay!


Try it out!  We'd love to hear how it goes for you!
Next up:  Curling with a Sock Bun!

Don't forget to accessorize those curls with BowSweet!

Apr 17, 2012

Bandu Knots: Attempt #2

We tried it again!  Attempt #1 was a bit of a giggle.  Wow! Those were some TIGHT curls!  We promised to show you another try at this no-heat curling method, so here we go!...


This time, just 4 knots.
She still thinks she looks like an alien.  Is there such a thing as a cute alien?  I think so.
This is just after undoing the knots.
They did relax a little more than this throughout the day.
Aww......
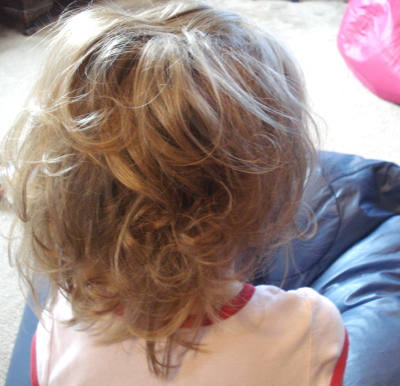
I will guess what you are thinking next:  "What about little sister's crrrrazy hair?"
Well, let's see....

We tried just 2 knots on her.  This would actually be cute as its own hairstyle!
Ah.  Much better!  Although, definitely less entertaining than last time!
Stay tuned for our next tutorial - how to curl hair with rags!